Wednesday, April 20, 2011

Cream Eyeshadow Addiction

For ages now I've wanted to get some nice cream eye shadows as I think they look gorgeous and are far nicer than how powder shadows look.

I saw Lisa Eldridge mention the Rimmel 8 Hour Shadow Mousses in one of her videos and so I decided to check them out next time I was in the shops because the colour she had looked gorgeous.

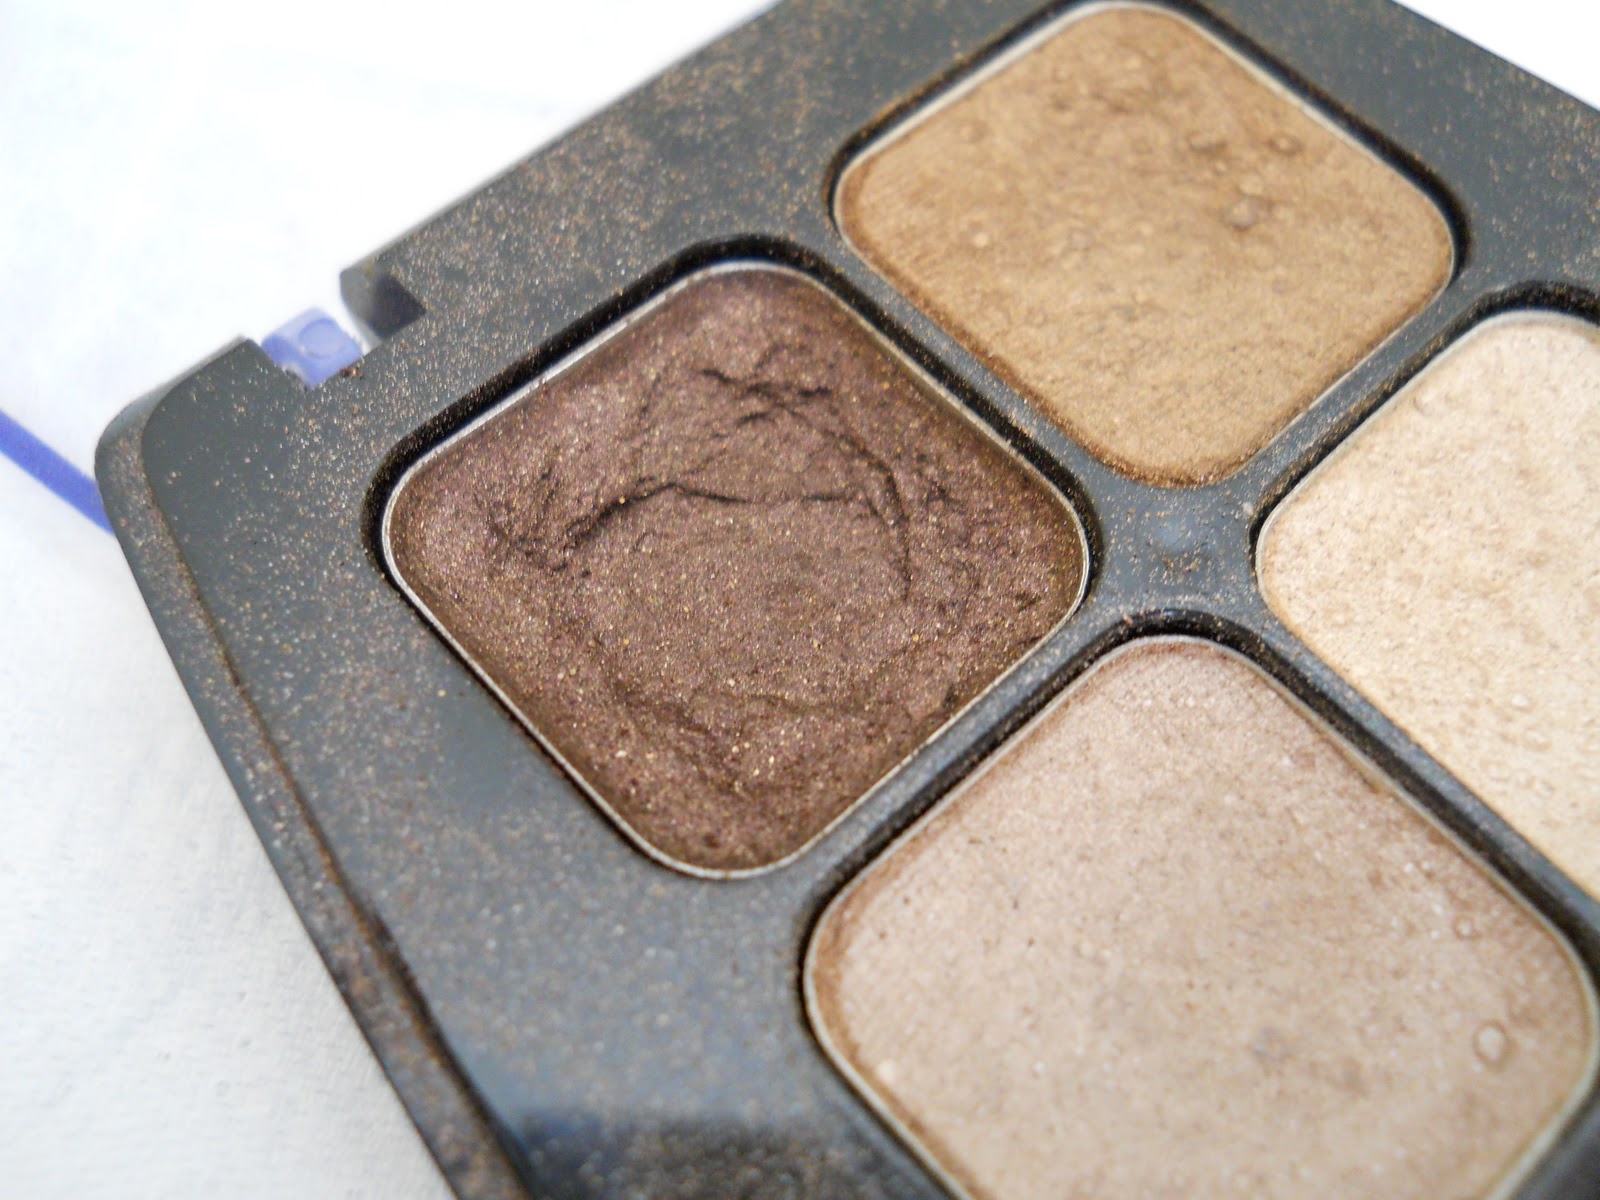
I went in and spent ages swatching them. They have about six colours and I only came in expecting to get one shadow but came out with four because they were so lovely. They are fantastic wearable colours and apply so nicely. At £4.99 each they are definitely cheaper than other cream shadows out there but the colours and formulas are just as good.

Rimmel Colour Mousse in Get Fresh. This is a lovely salmon pink shimmery colour.


Rimmel Colour Mousse in Galaxy. All these shadows are shimmery without being horrible and glittery. This is a lovely vivid purple and can't wait to wear this!
Rimmel Colour Mousse in Glitz. A gorgeous gold!
(left swatch) Rimmel Colour Mousse in Sassy. This is the colour Lisa Eldridge talked about, it's a lovely taupe.

A nice little high street find - for once I didn't have to go to MAC for some good eye shadows!


Just a little note to let you ladies know that I'm going on holiday for two weeks, so I will be back blogging from the beginning of May xxxx

Saturday, April 16, 2011

Product Rave: Liz Earle Cleanse And Polish

I have been using the Liz Earle Cleanse and Polish cleanser for around a month now and thought I'd share my thoughts about it with you as I think everyone should have this!

First up, I love this product, and won't be using anything else to cleanse my face from now on. I have always used cheap gel cleansers as I didn't see the point in spending a lot of money on something that's only going to be on your face for a few seconds. Oh how wrong I was!

From using this product I've found that 
  • my skin isn't dry or tight when I wash my face
  • my complexion is so clear and glowing
  • areas of my face such as breakouts aren't red or inflamed looking
  • one thing I wasn't expecting to get from it is my face is less oily. 
  • my skin is better regarding breakouts and blackheads.
  • my make up is going on better and lasting a lot longer because the texture of my skin is so much better now
  • my face isn't irritated at all
I bought the 200ml tube but you can get it in a 100ml pump bottle which I think I will get next time. I ordered this online and when my cleanser arrived the lovely people at Liz Earle had given me a free muslin cloth and a mini bottle of Cleanse and Polish. 

Using the muslin cloth to take the cleanser off leaves my skin really soft and glowing. I also use this with my Botanics Face Brush every morning which works a treat.
Believe the hype about this, it's definitely worth the money and will work for every skin type.
Hannah xx

Friday, April 8, 2011

MAC Pinch Me and Fleur Power

 Hi everyone, sorry for the lack of interesting posts! I have just started my new job and so I've been really tired and working late nights. Today I have a day off though and thought I'd tell you about my latest MAC purchases.

I ordered a couple of blushers as I've been wanting to get some nice blushers for ages. I love the range of colours MAC have and their products never really fail me or wear off through the day.

I decided to get a blush that was more on the pink side and then a peachy coral colour. It took me a while to narrow it down but here's what I got - 

MAC Fleur Power (left) and Pinch Me
Fleur Power is a pinky coral satin formula and a really lovely blush. It's my favourite of the two beacuse it's really highly pigmented and I love how this makes me look glowing and healthy.You can really build this up or apply only a wash of colour. This looks good with a whole load of make up looks.

MAC Fleur Power
Pinch Me is also gorgeous. It's a sheertone formula so you get a completely different application from this. I love the colour, it's a dirty peachy coral without being too dark for my fair skin. This gives a sunkissed healthy look and really warms up my face. I can tell this is going to be a summer staple.


I plan on doing a few more face of the days using these products so you can see how they look on.

Also a welcome to my new followers :)
xxx

Monday, April 4, 2011

Turquoise NOTD

As I mentioned in my previous Nail of the Day I'm trying out more adventurous nail colours. I was looking in M&S the other day which is something I very rarely do and I stumbled across their make up section and saw they had quite a few bright nail polishes.

I bought this colour called Jade as I think it's lovely bright summery shade and I'm loving turquoise at the moment.
Please excuse my wrinkly dry hands! Should have put some hand cream on...
The application was a bit streaky as the polish seemed to dry as I was trying to apply it. To avoid this you have to make sure you have a lot of product on the brush. You definitely need two coats with this as the first coat was quite sheer.

I'm pretty impressed with this polish as I'm writing this on the 3rd day of wear and it hasn't chipped apart from a teeny bit on one nail which you can see in the picture. Most polishes usually chip within a day on me. I didn't apply a top coat either as I wanted to test it out.

What are your favourite spring nail colours?

Friday, April 1, 2011

Subtle Everyday Smokey FOTD

 I wore this look to town with friends at the weekend. The camera doesn't seem to pick up all the of the make up as this is a bit darker and more noticeable in real life.

I didn't want it to be over the top though as it's only a day look but I still wanted a bit of definition to my eyes.

I applied painterly paint pot to my eyelids as I wanted everything to last through the day. Then I lined my upper lash line with quite a thick rough line of brown eyeliner and smudged that out with a cotton bud.

Over the line of eyeliner I applied a chocolate brown eyeshadow from Rimmel in another thick line and then blended with a MAC 217 to soften.
I applied the eyeshadow to my lower lash line quite low under the eye and blended with a cotton bud.

Then lined my upper waterline with my eyeliner to make sure no skin was showing through and to make my lashes look thicker.

I applied mascara top and bottom but only one coat and made sure there were no clumps.

I decided to keep the rest of my face really simple only applying bronzer to contour slightly and wearing Rimmel's Nude Delight lipstick on my lips.


Maybe I will apply a bit more make up next time so it shows up on camera properly!
xxx